Create A Custom Form
CREATE THE FORM
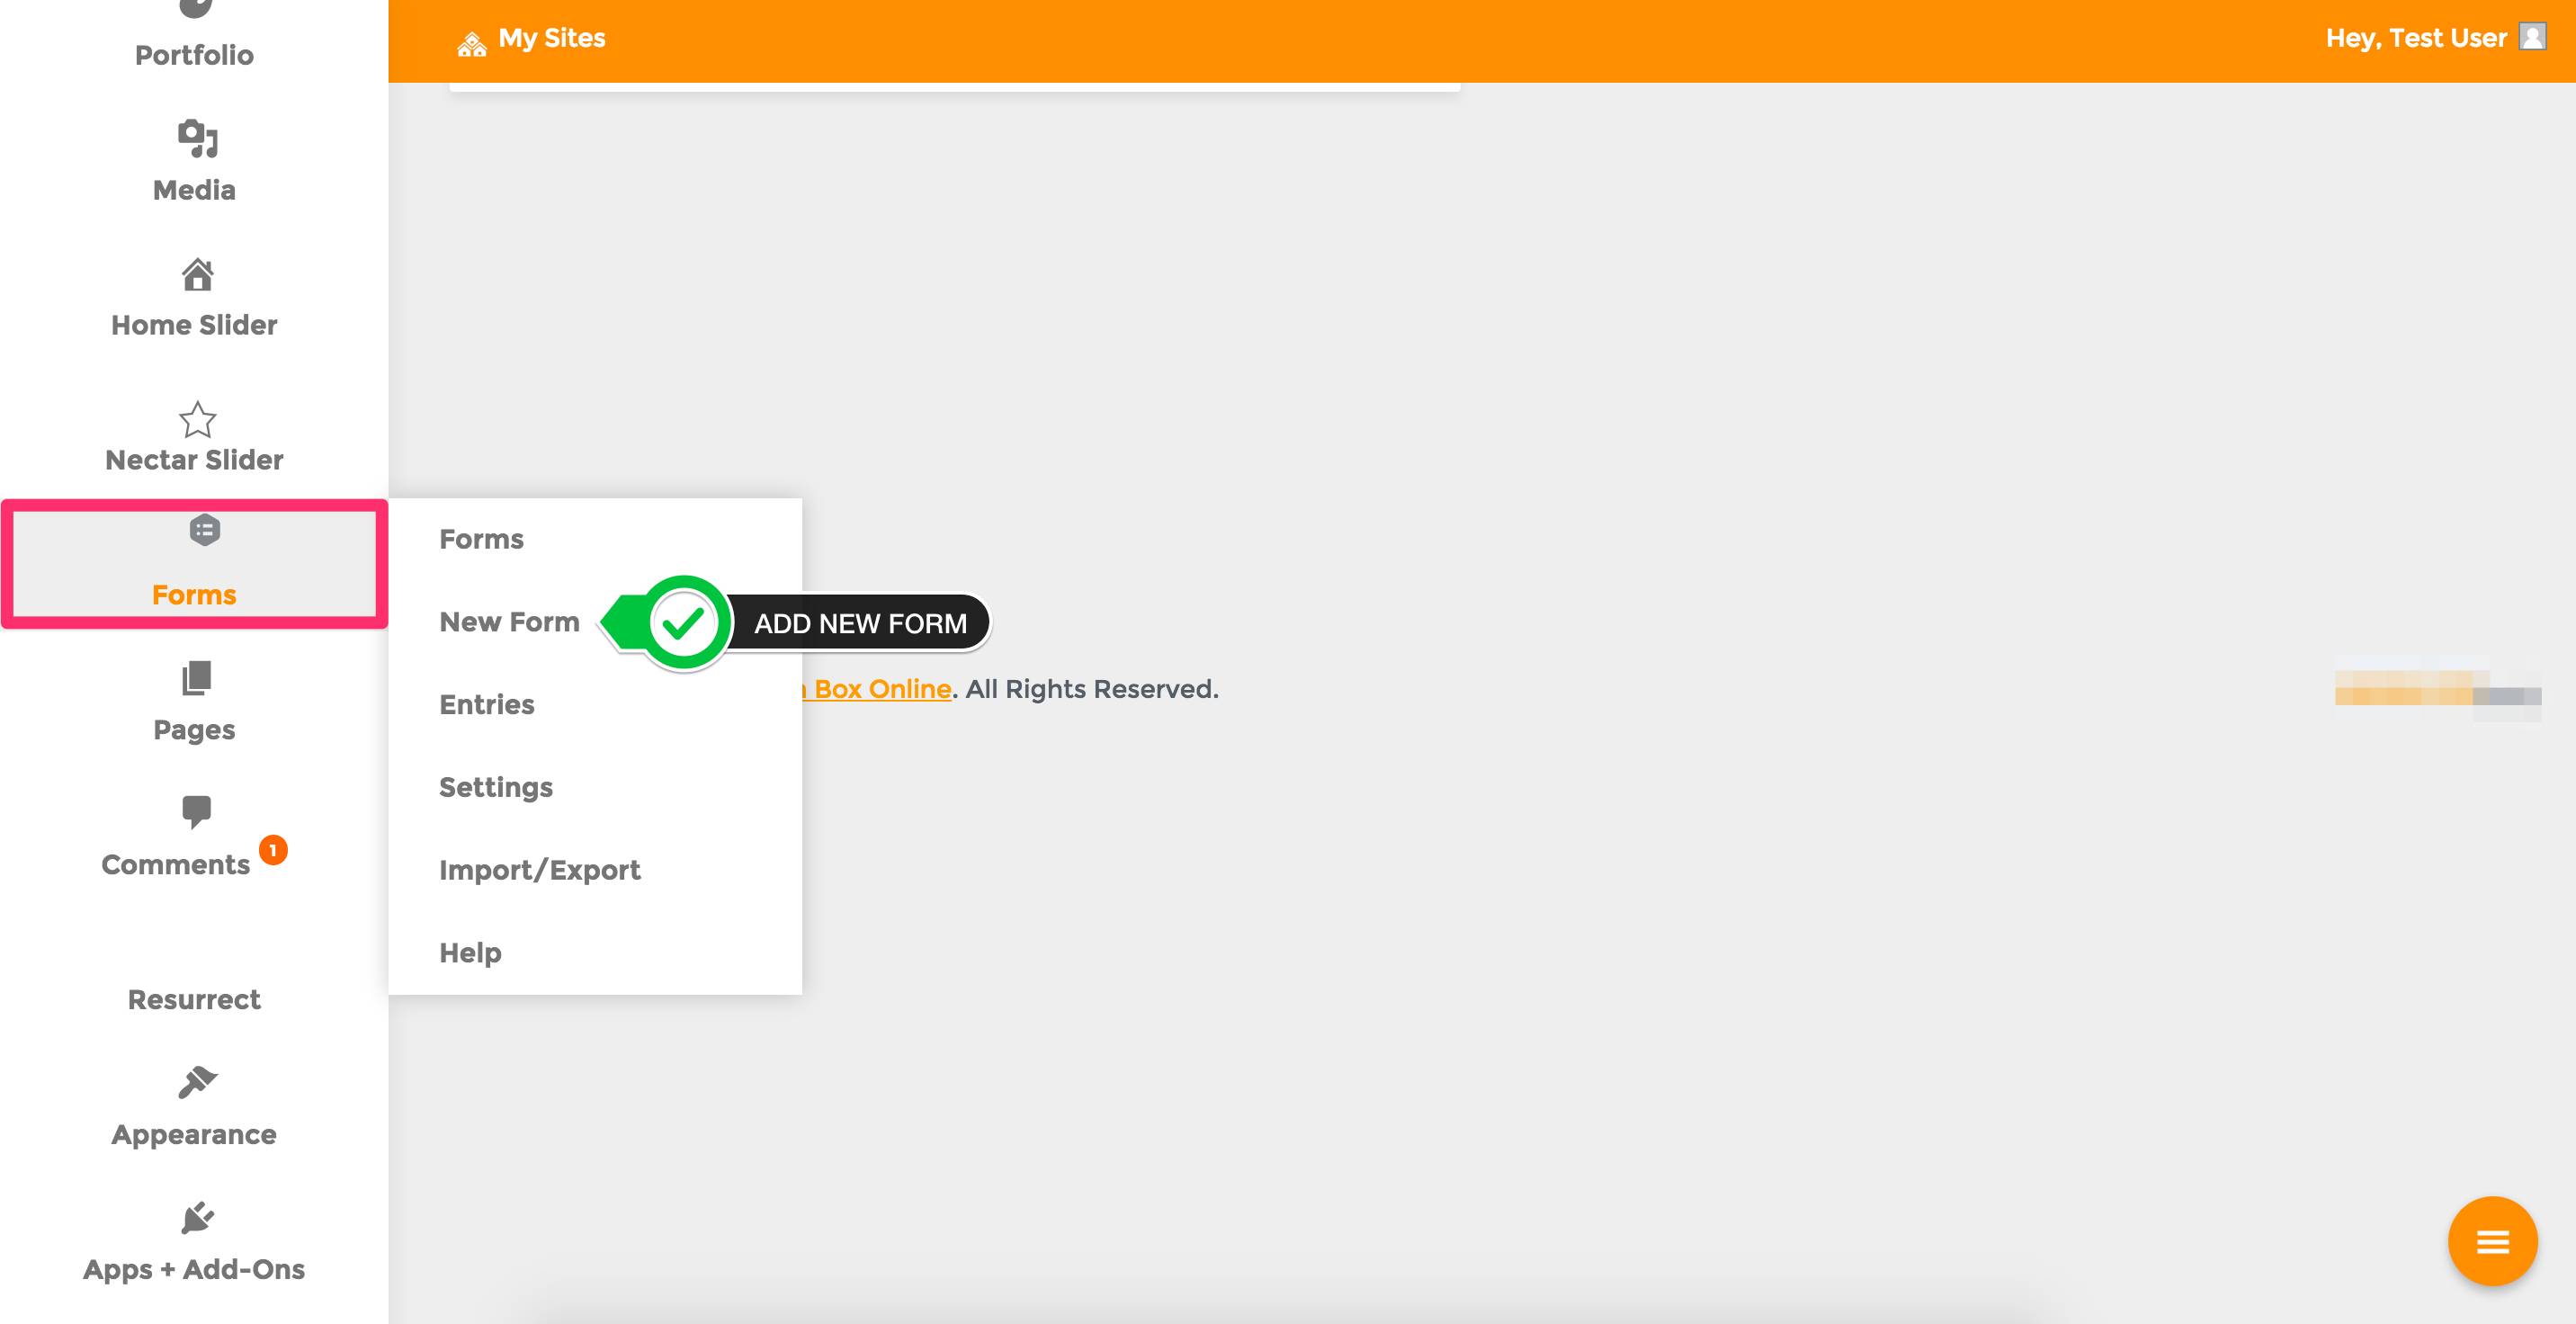
1) Select ADD NEW under the FORMS menu.
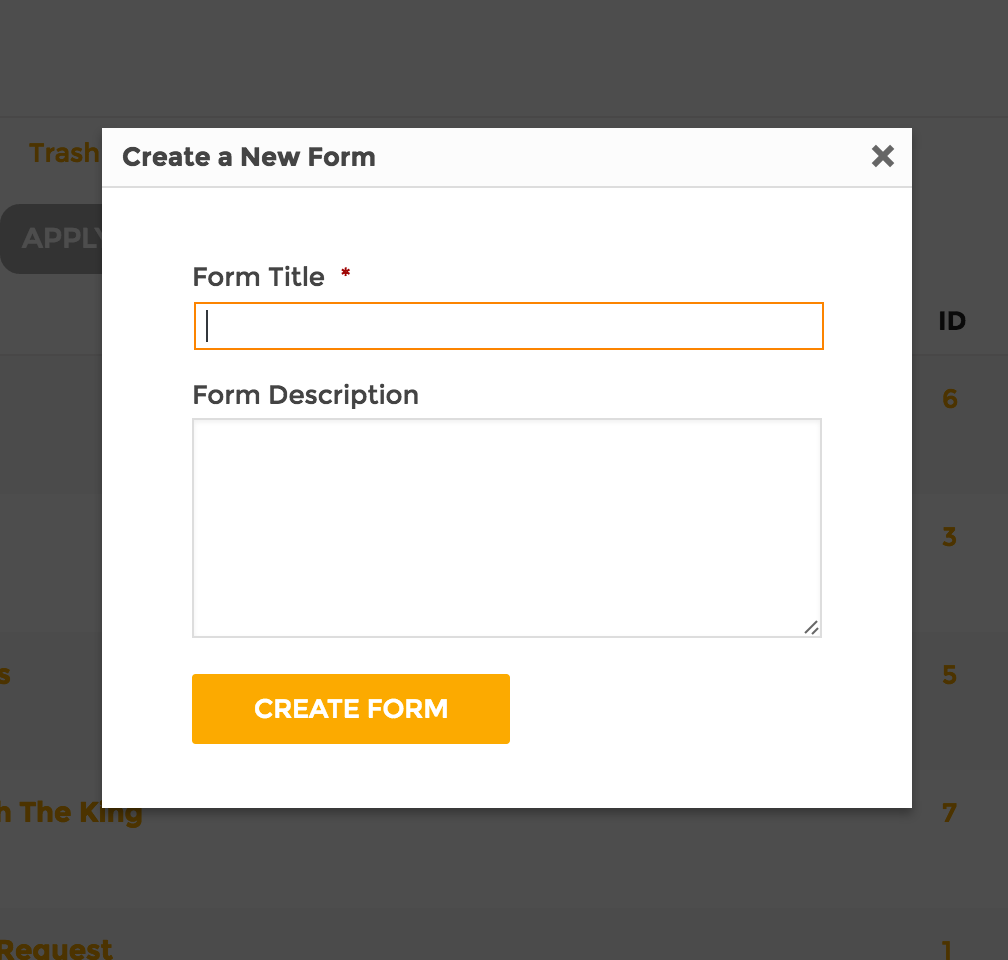
2) Add a FORM TITLE and Description (optional) then select CREATE FORM
EDIT THE FORM
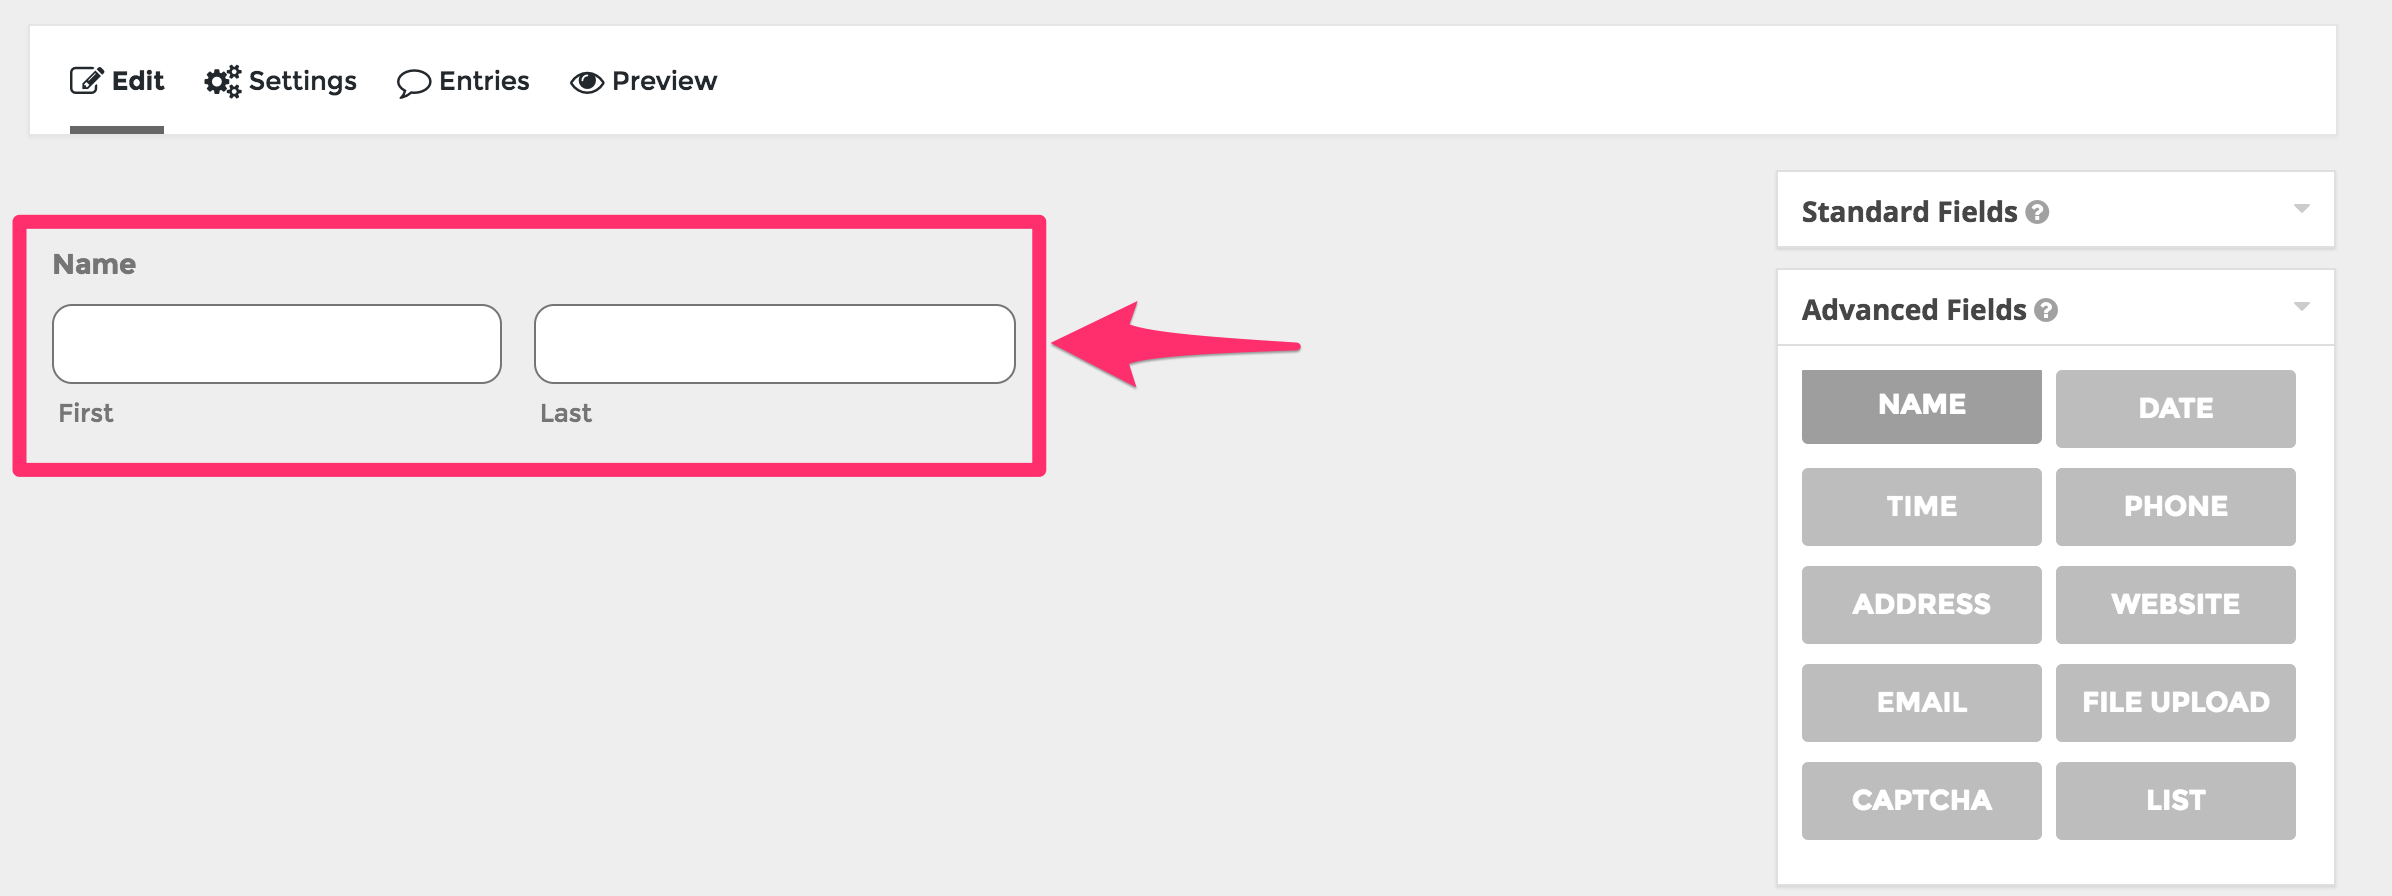
3) Select A Field Type
- Start by selecting a field type from the floating panels on the right.

4) CLICK or DRAG to Add A Field
- Once you've found the field type you want, click to add it to the form editor.
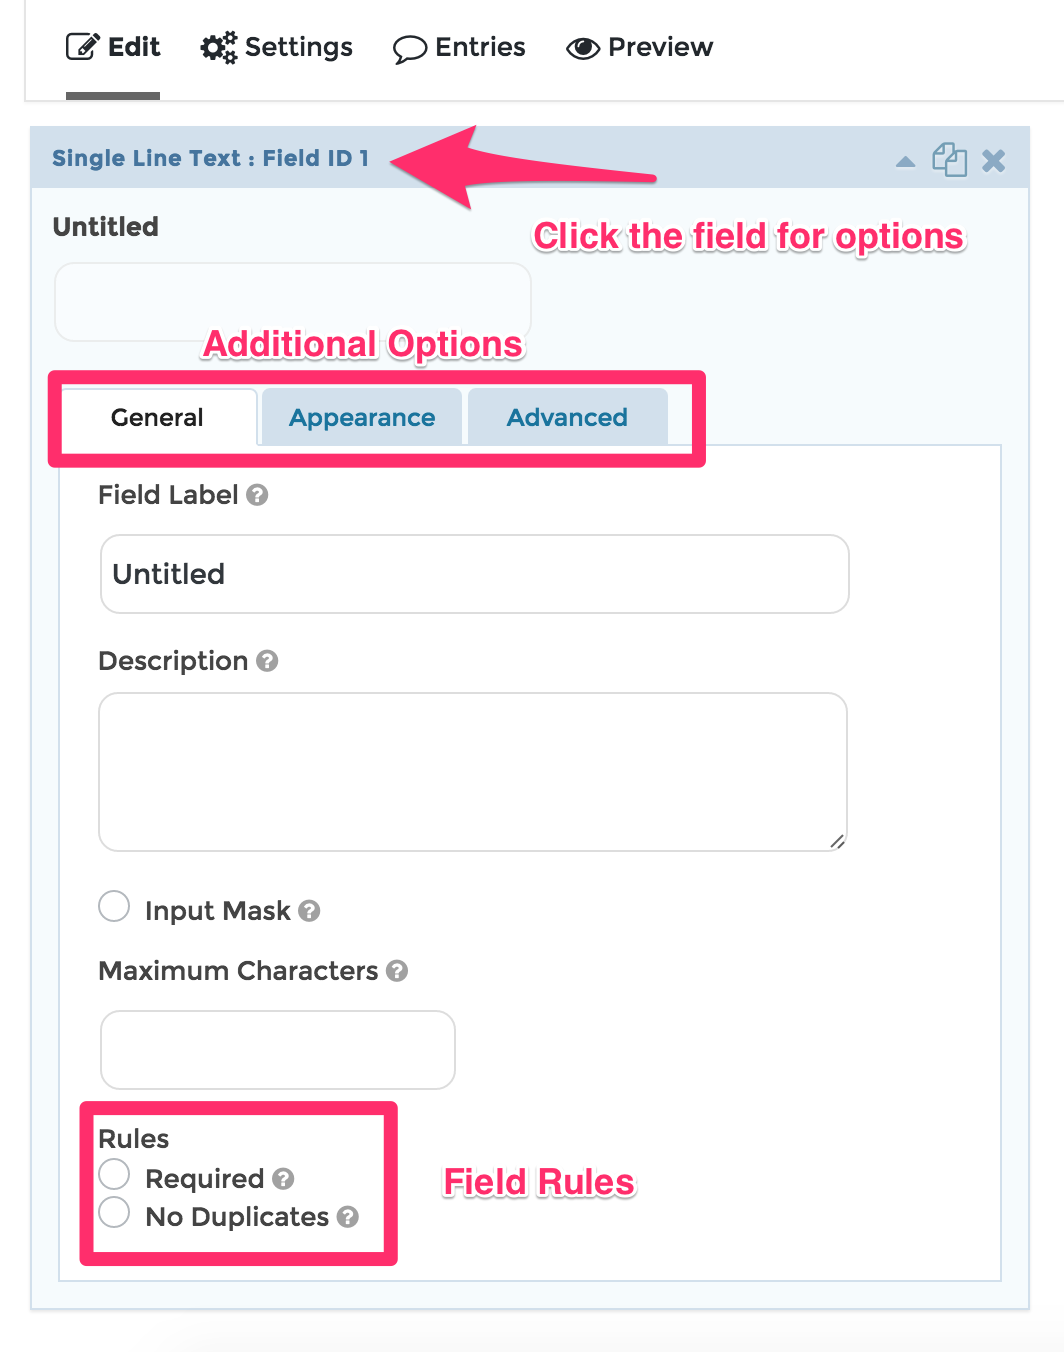
5) Edit Field Options
- Click on the edit link to configure the various field options.
6) DRAG to Arrange Fields
- Drag the fields to arrange them the way you prefer.

7) SAVE Your Form
- Once you're happy with your form, remember to click on the 'update form' button to save all of your changes.

INSERT THE FORM
1) Go to the PAGE you'd like the form to appear on
- Create a new page or go to an existing page that you'd like to add the FORM to.
- ADD A PAGE TITLE then SAVE THE PAGE.
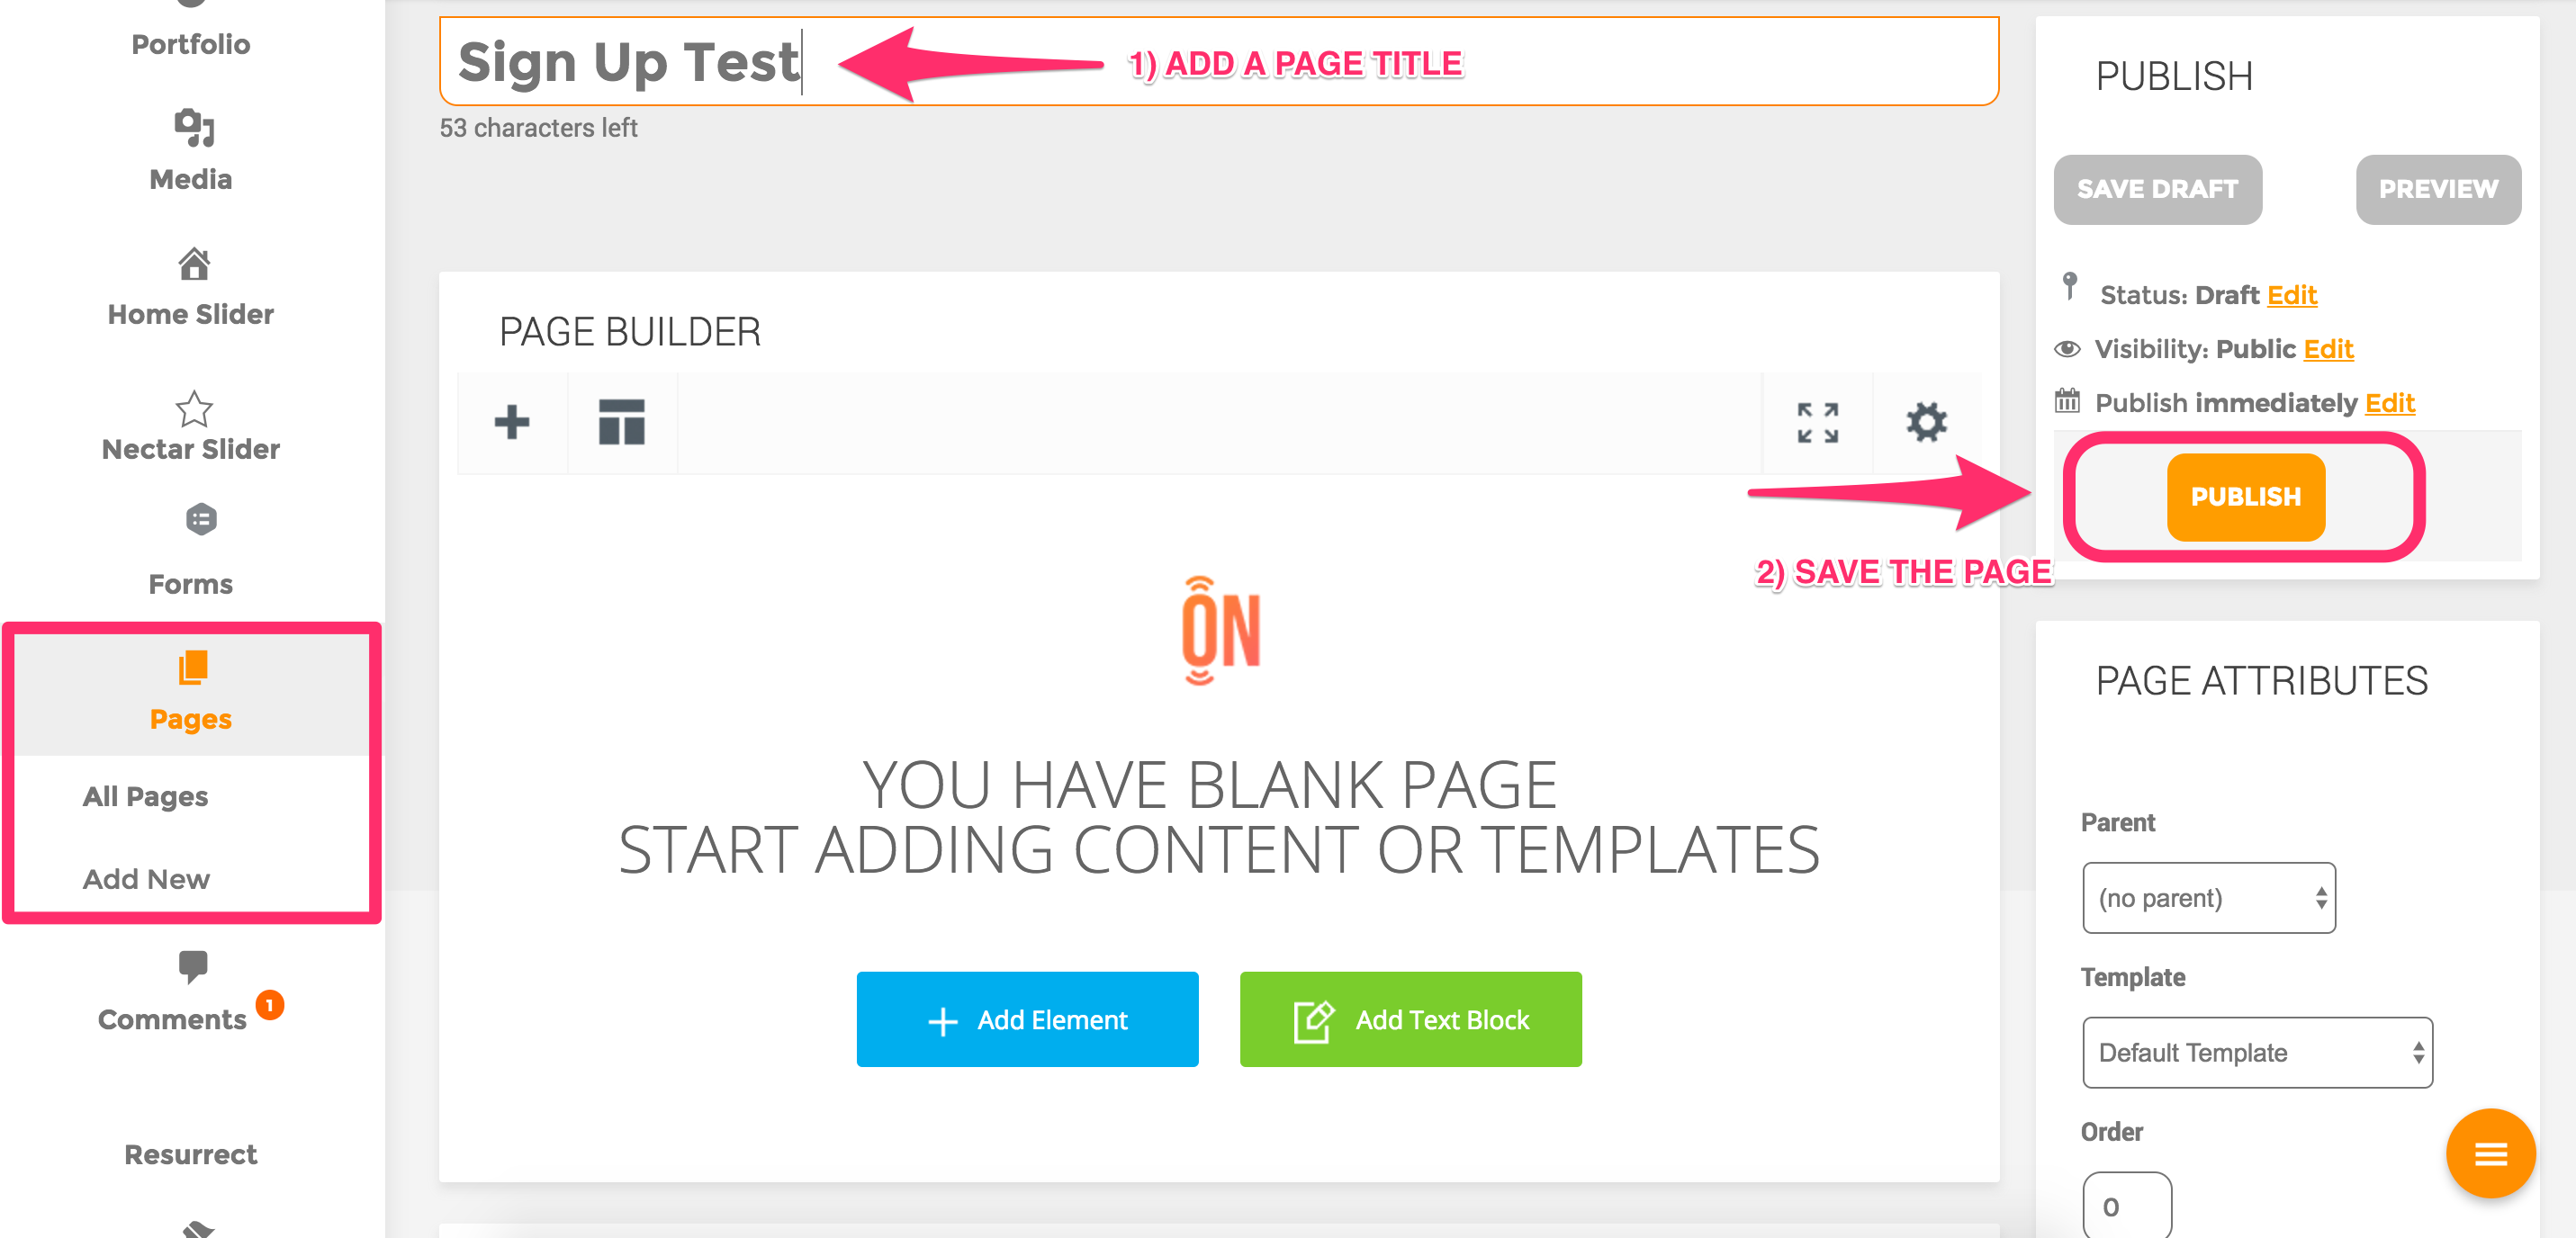
2) Select the ADD ELEMENT BUTTON or the "+" Button. Then select FORM from the popup menu.

3) Edit the FORM OPTIONS
- DISPLAY FORM TITLE: Displays the title of your form
- DISPLAY FORM DESCRIPTION: Displays the description of your form
- ENABLE AJAX: The form will submit without the page reloading

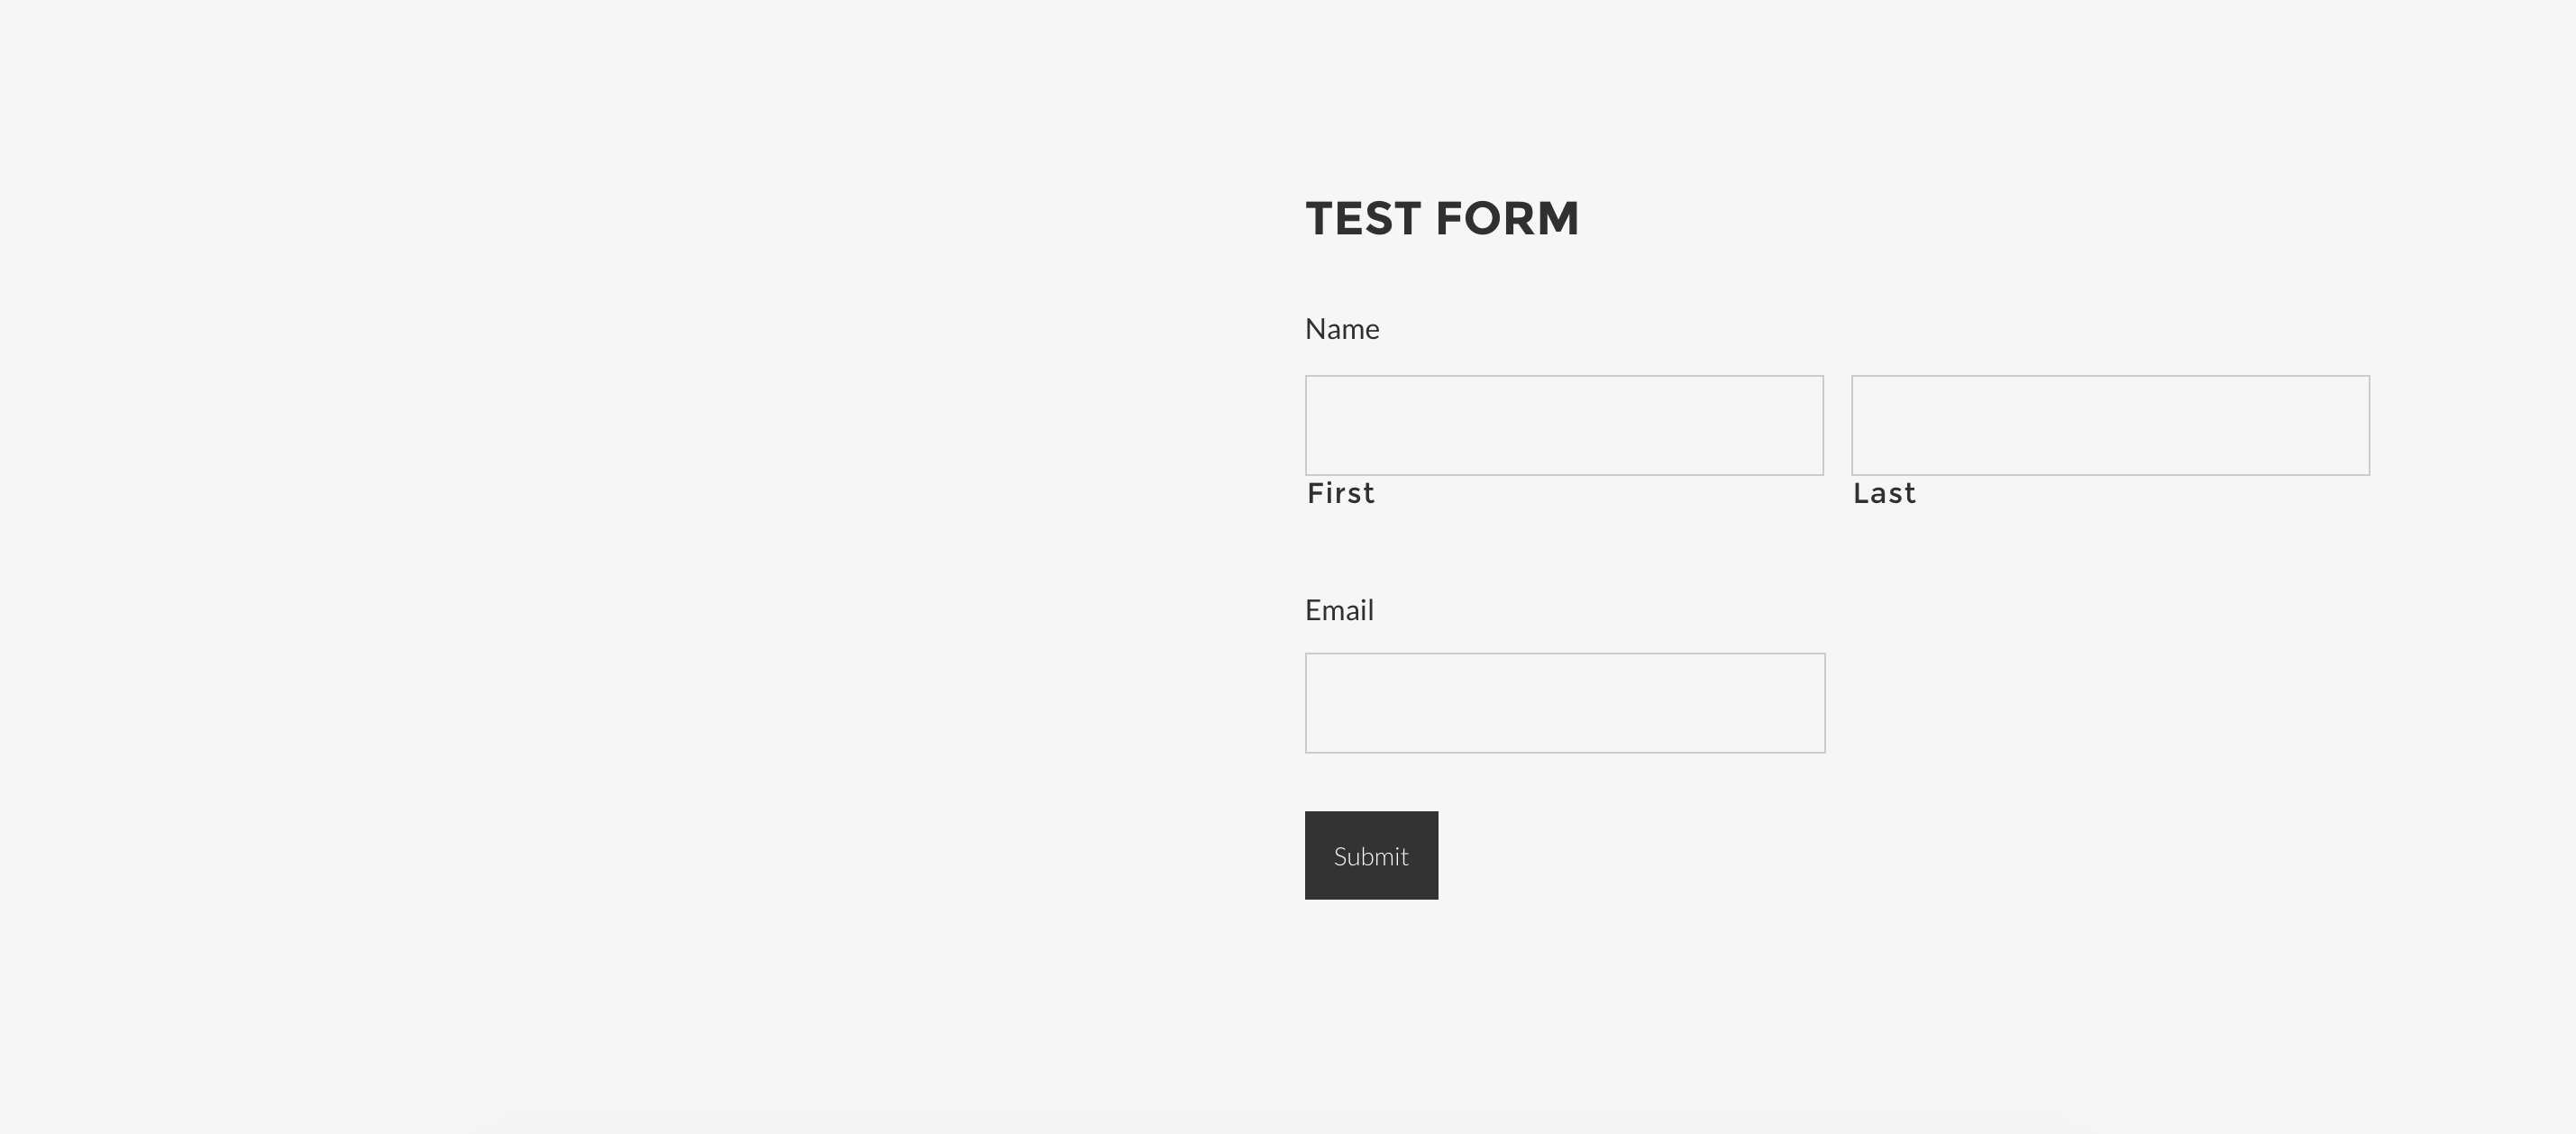
STYLE THE FORM
When you initially add the form to your page, it may look pretty plane. The form is added to the page with basic styles. You can easily change the settings to make your form much more attractive.

SECTION 1: Edit Form's Row Settings
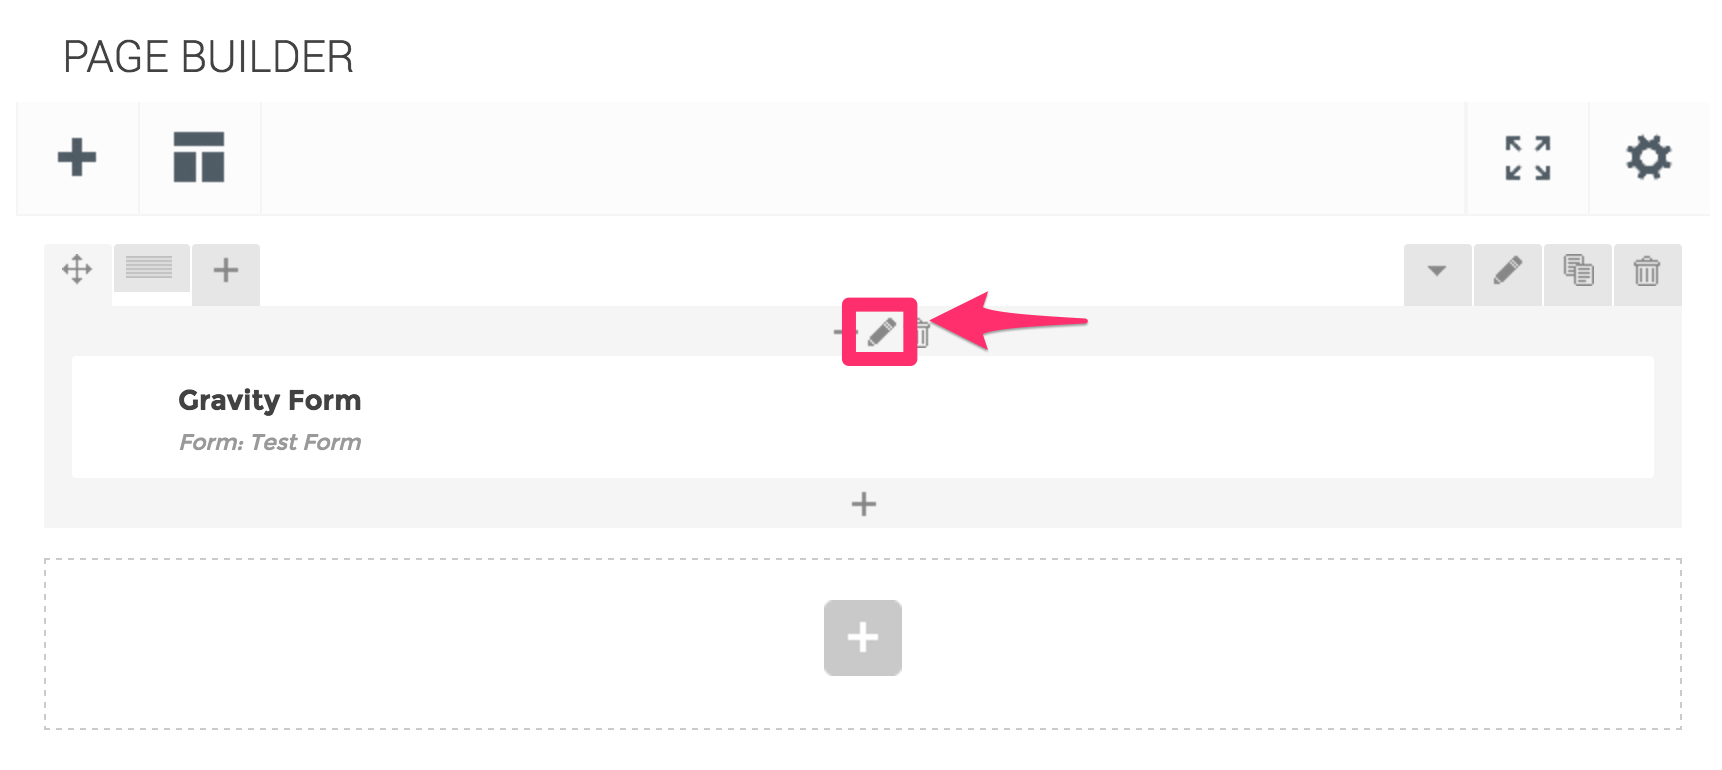
1) Click the PEN in the ROW options.
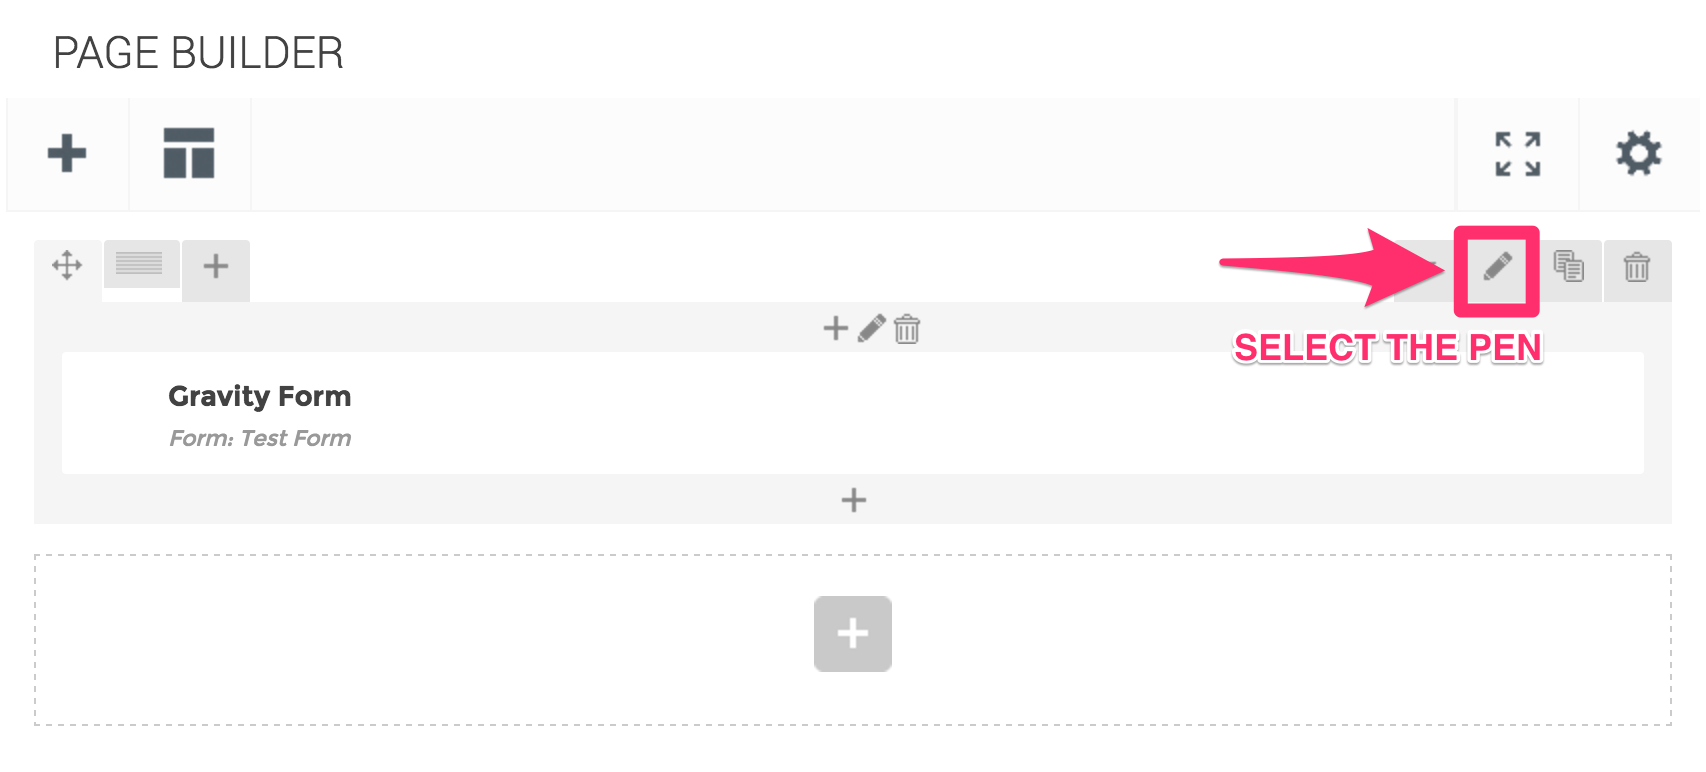
2) The popup menu shows you all of the current row's options. Here are some basic settings to help improve the look of your form.
TYPE:
- In Container - The content and background in the row will not go to the edge of the screen.
- Full-Width Background - The background for the row will go to the edge of the screen while the content of the row will not go to the edge of the screen.
- Full-Width Content - Both the background and content of the row will go to the edge of the screen.
BACKGROUND COLOR: Change the background color for the row that contains your CUSTOM FORM
TEXT COLOR: Dark, Light, or Custom. This option will change the color of all the text in this row. The Dark and Light text colors are set in your theme options menu. Choose custom to change the text in the row to a custom color.
TEXT-ALIGN: This option will change the text alignment for the content inside the selected row.
SUGGESTED SETTING: Padding Top: 50 | Padding Bottom: 50 (don't include px)
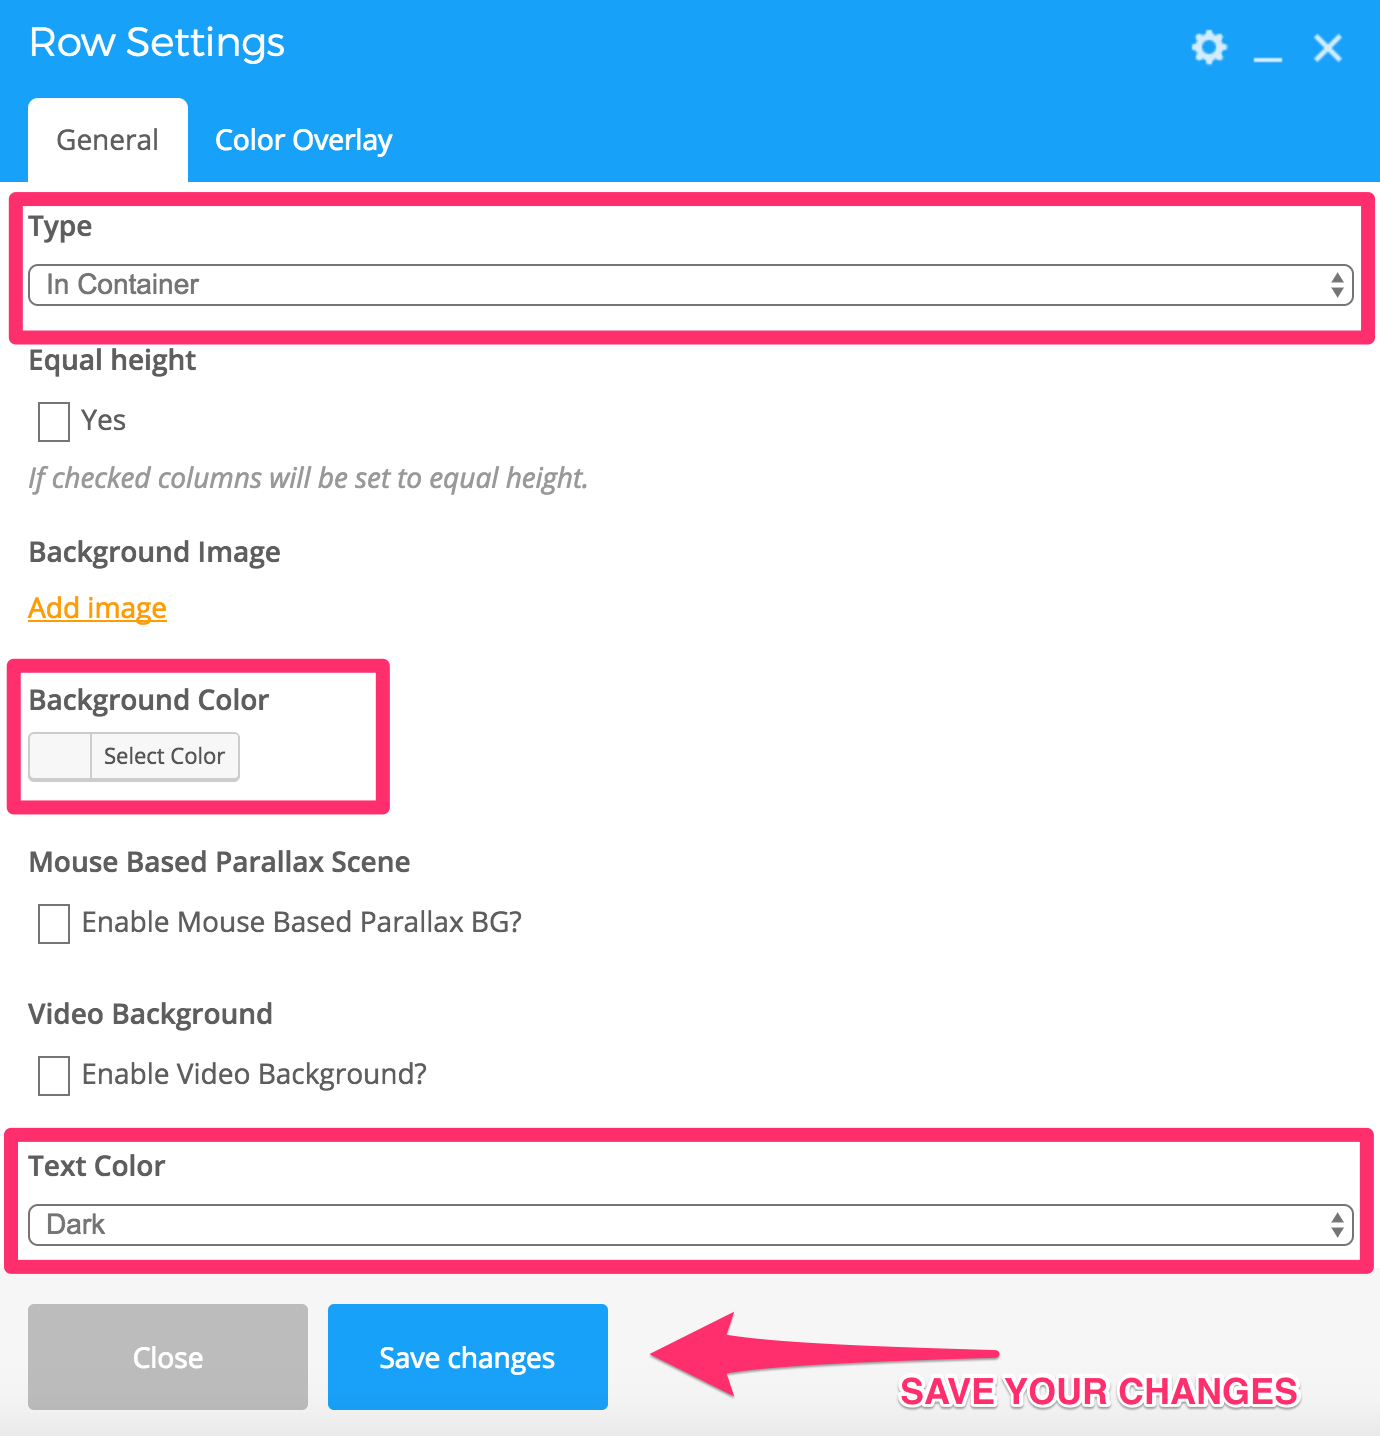
3) SAVE YOUR CHANGES prior to closing the window.
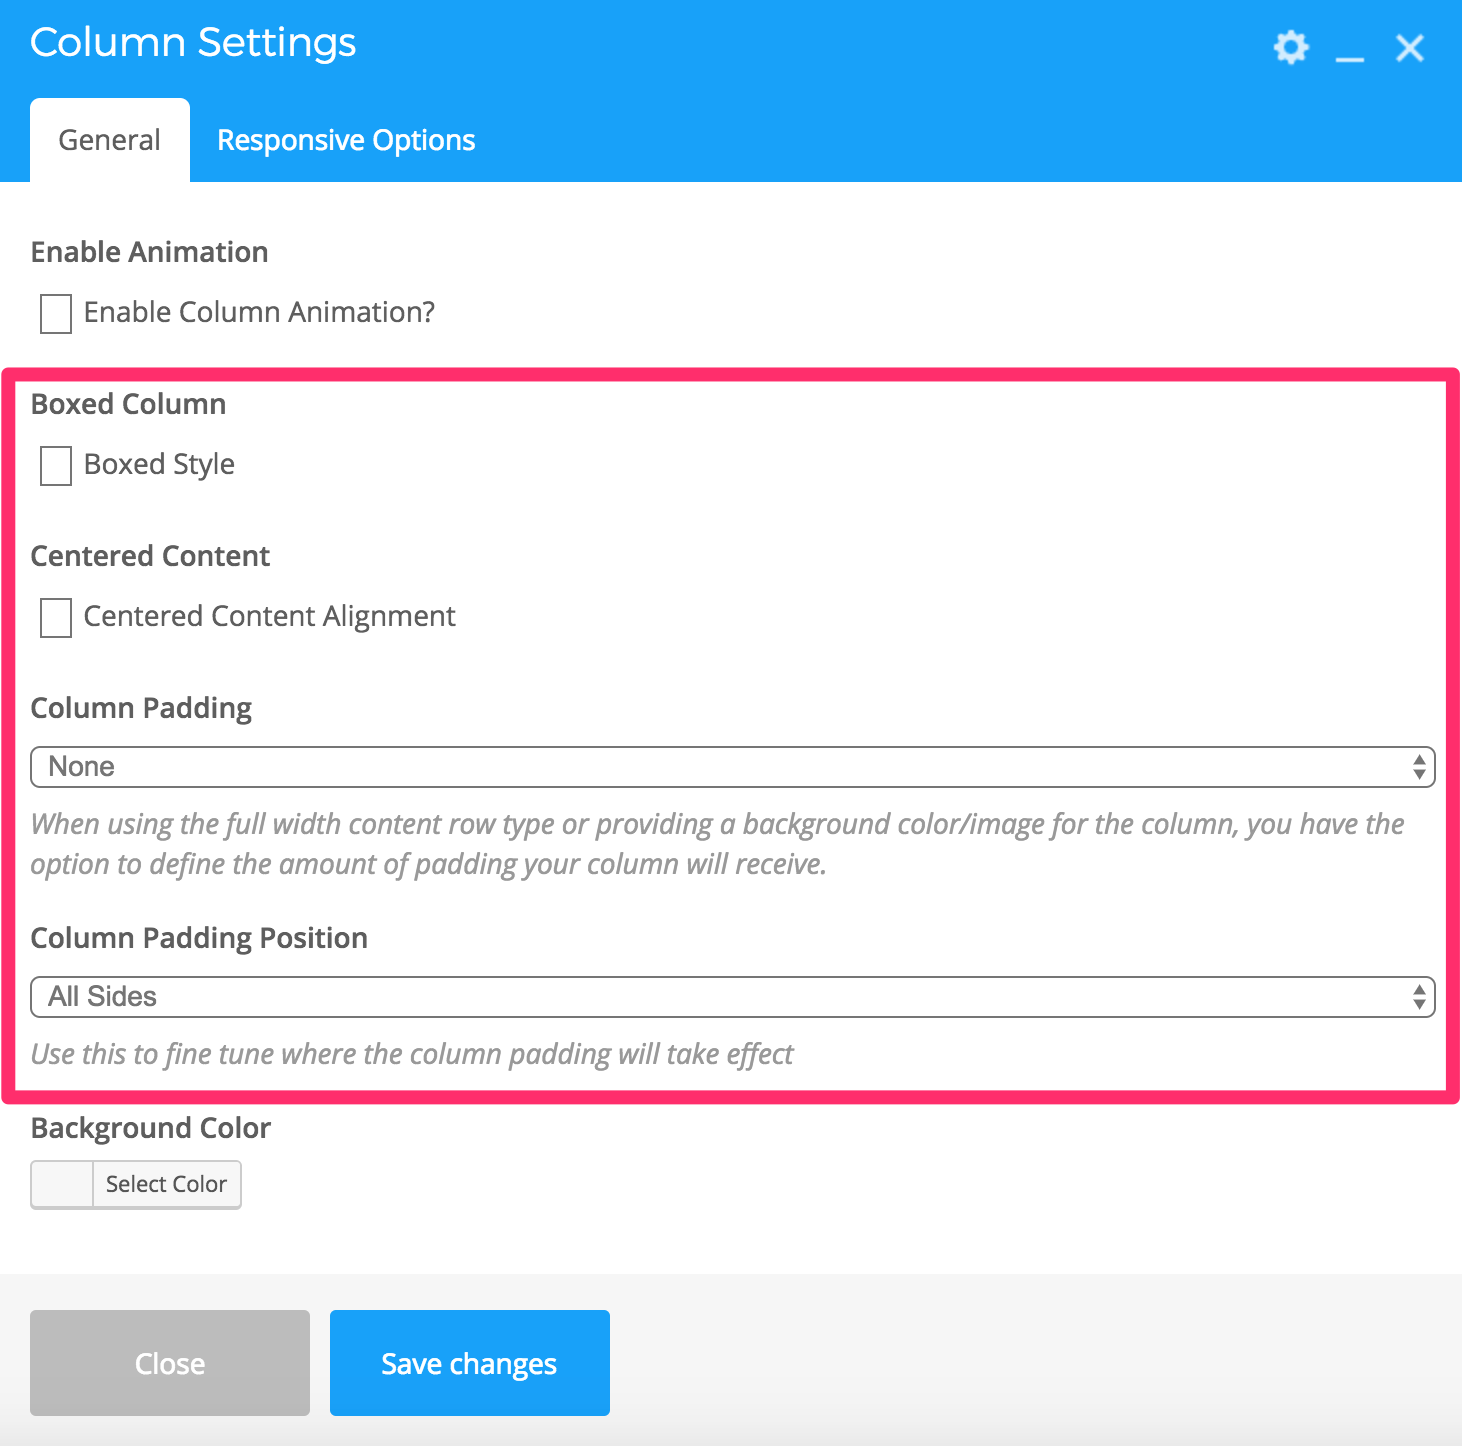
SECTION 2: Edit Form's Column Settings
1) Click the PEN in the COLUMN options.
2) The popup menu shows you all of the current column's options. Here are some basic settings to help improve the look of your form.
BOXED COLUMN: This will add a fancy shadow box to your Form.
CENTERED CONTENT: This will center the content in your Form.
COLUMN PADDING: Add 'White' space to the sides of your Form.
COLUMN PADDING POSITION: Choose where the padding will appear.
SUGGESTED SETTING: Column Padding: 5% | Column Padding Position: Left & Right
3) SAVE YOUR SETTINGS prior to closing the window
SECTION 3: Split the Column
You may find that you want your form to fill only half of the page or a third of the page. In this case, you can split your column into multiple columns.

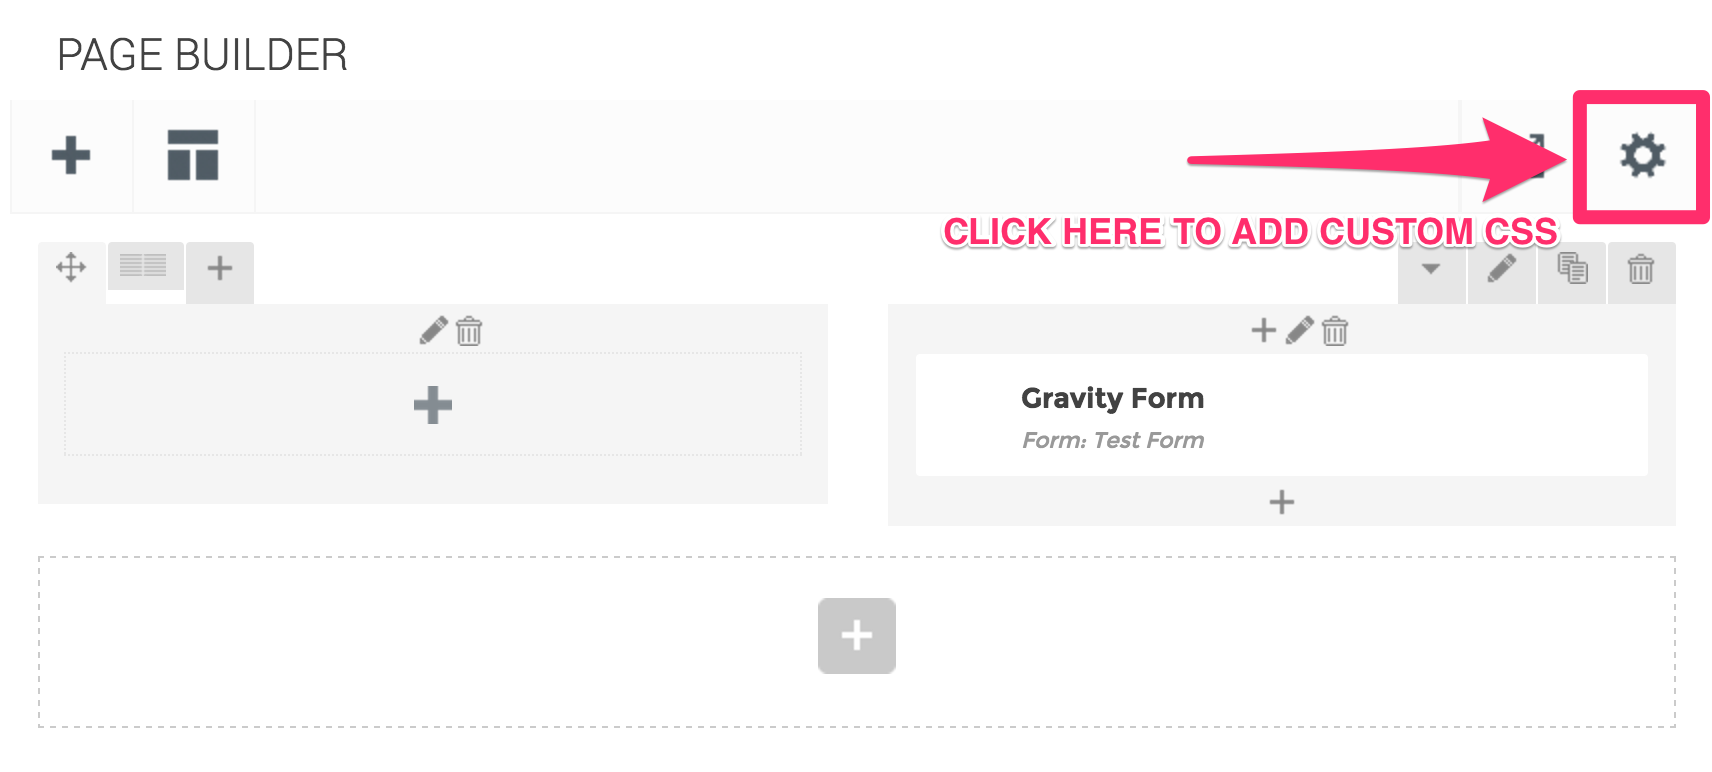
STYLE WITH CUSTOM CSS
You can also choose to use custom CSS to style your forms. CSS can be edited on a per page basis using the page builder. This is a more advanced feature and you can learn more about styling with CSS here: CSS TUTORIAL
Related Articles
Form Settings
The following help desk article will enumerate the various options given to you in the Form Settings tab within the Form Builder. Form Basics Form Title This is where you can add or change your form title. Form Description You can change the ...User Roles | Online Giving
What are Roles and Capabilities Sermon Box Online has several default user roles: Admin, Editor, Author, Contributor, and Subscriber. When you create a new user at “Users > Add New” you choose one of these roles for that user. The user’s role ...Add/Edit A Menu
1) Login to your Sermon Box Online account 2) Locate the Appearance menu item in the left-hand menu bar CREATE A NEW MENU 1) Select 'Create A New Menu' on the right-hand side 2) Give the new menu a name then, select 'Create Menu' ADD NEW MENU ITEMS ...User Role Permissions
With Sermon Box Online, user management is as simple as assigning a specific user a pre-defined role. Available roles for users are listed below: ADMINISTRATOR EDITOR CONTRIBUTOR AUTHOR ONLINE GIVING MANAGER ONLINE GIVING ACCOUNTANT ONLINE GIVING ...Change Your Webmail Password
The password associated with your email account can be used to access the webmail interface, as well as configure your account with a desktop mail client. You can change this password from the webmail interface at any time. Here’s how you can do so – ...