Enable Test Mode
Once you've enabled Test Mode, you can use the “Test Donation” Gateway.

Test donations are easy to spot in the back-end donations area of your site. When viewing transactions (navigate to Donations > Donations), test donations are clearly marked with a yellow label.
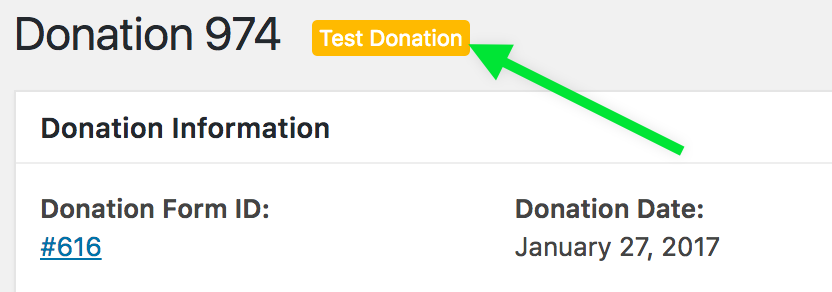
Also, when viewing an individual donation, There’s a similar yellow label at the top of the page.
Testing Stripe Payments
Now that Online Giving is in Test Mode, here is a sample test card to use for Online Giving:
4242 4242 4242 4242 - Visa Test Card
Go to your Online Giving Form and insert sample field data into the fields and run the transaction through.
If you see the donation confirmation page and the donation is viewable in the admin area (Online Giving > Donations) then you know everything is functioning correctly.

How do you know the donation actually worked? You can also verify a successful donation by logging into to your Stripe account. In the top-left part of the Dashboard, you’ll see a toggle to switch between “Live” and “Test” mode.
When you switch to “Test” mode, all the transactions that you see on the Payments screen were done. If you see your recent test donations there, then you’ve successfully tested with Stripe and you’re done!

Test Your Emails
Test your Donation History
Lastly, your donors might also be logging into your site and will want to review their donation history. This can also be tested and confirmed. Of course, you can donate to the site yourself and see your own donation history, but did you know you can also log in as any of your donors to your website without knowing or changing their password and confirm their donation history?
Go to “Users > All Users” you’ll see when you hover over their name, there’s now a “Switch to” link.

After you click on that, you’ll be able to navigate to your homepage, and view your website just like that donor would, including see their entire donor history on your designated donor history page.
To switch back to your account, hover over the profile menu in the top-right admin area and you’ll see a link that says “Switch back to {your admin username}”.

Removing Test Donations
To have your test donations removed from your Online Giving history, submit a support ticket to Sermon Box Online.
Related Articles
Test Card Numbers
Test Cards 4242424242424242 Visa 4000056655665556 Visa (debit) 5555555555554444 Mastercard 2223003122003222 Mastercard (2-series) 5200828282828210 Mastercard (debit) 5105105105105100 Mastercard (prepaid) 378282246310005 American Express ...Setup An Email Client
Sermon Box Email can be configured on various email clients such as Outlook, Outlook Express, Thunderbird, Windows Mail, Windows Live Mail, Apple Mail etc., The mail clients listed below contain instructions on how to setup your mail account for ...Auto Email Response
Each user can enable, disable and modify their own auto-responder from their webmail interface. Enabling the auto-responder would result in an automatic reply being sent out by the Email system as soon as an Email is received for that specific Email ...Form Settings
The following help desk article will enumerate the various options given to you in the Form Settings tab within the Form Builder. Form Basics Form Title This is where you can add or change your form title. Form Description You can change the ...User Role Permissions
With Sermon Box Online, user management is as simple as assigning a specific user a pre-defined role. Available roles for users are listed below: ADMINISTRATOR EDITOR CONTRIBUTOR AUTHOR ONLINE GIVING MANAGER ONLINE GIVING ACCOUNTANT ONLINE GIVING ...